Regular maintenance of your Masterbuilt Electric Smoker is essential to ensure it functions efficiently and lasts for many years. Proper cleaning prevents grease and debris buildup, which can affect the smoker’s functionality and the flavor of your food.
Additionally, removing mold that can develop during storage is crucial for flavor and safety. Although cleaning can seem cumbersome, particularly with the interior and racks, the right approach and tools make it manageable.
Follow this guide to keep your smoker clean, well-maintained, and ready for your next smoking session.
Why Cleaning is Important
Proper cleaning of your smoker prevents the buildup of grease and debris, which can affect the smoker’s functionality and the flavor of your food. Regular maintenance also extends the life of your smoker, ensuring that each smoking session is clean and efficient.
Also, it is not unusual for mold to grow inside your smoker after storage, so this MUST be removed before use. This is not only a flavor issue but a safety issue.

Avoid Cleaning the Inside Walls
One key aspect of maintaining your Masterbuilt Electric Smoker is knowing what not to clean. Avoid cleaning the smoker’s inside walls unless there is a fire or major food spill.
The seasoned interior walls contribute to the coveted smoked flavor you want in your food. Instead, re-season the smoker after every use with one pan of wood chips. This will help maintain the seasoned flavor while keeping the smoker in good condition.
Essential Masterbuilt Electric Smoker Cleaning Steps
If you need to clean the smoker due to a spill or accumulated grease, follow these steps:
- Preparation:
- Ensure the smoker is unplugged and cool before you start cleaning.
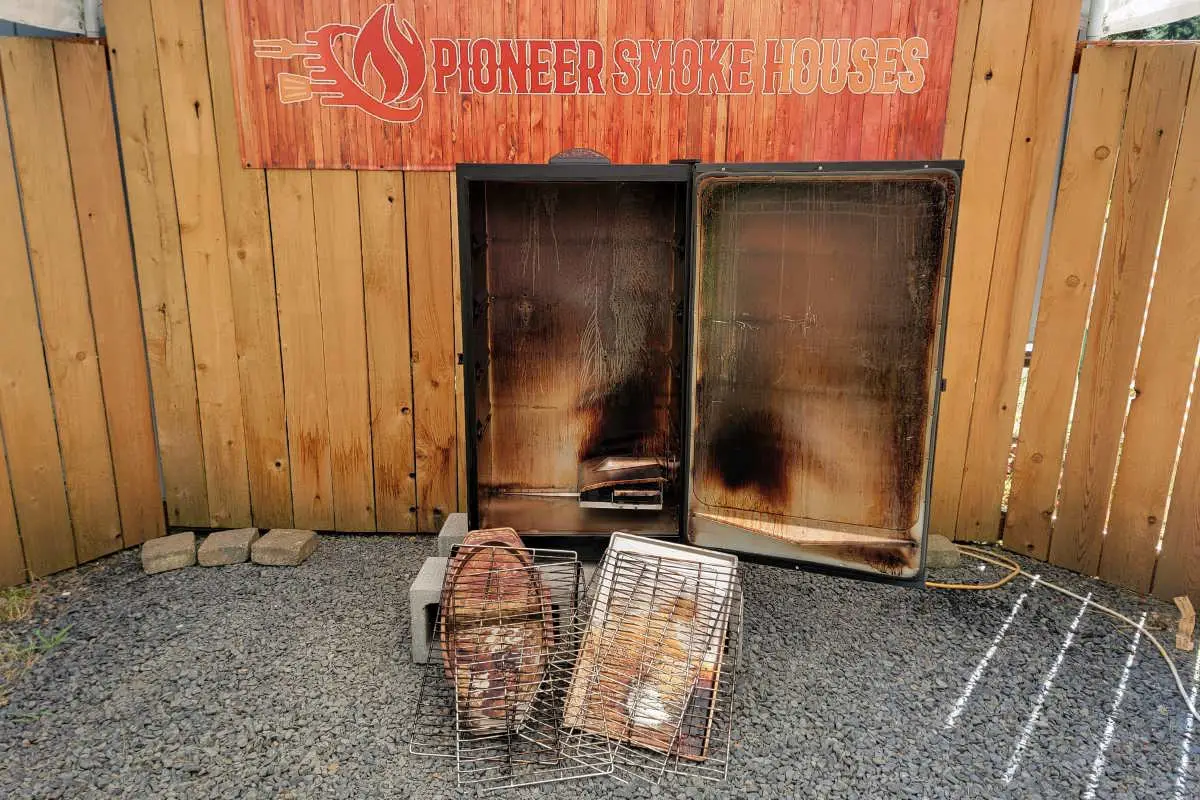
- Remove all detachable parts, such as the racks, drip pan, water bowl, and meat probe.
- Cleaning the Racks:
- Soak the smoking racks in warm, soapy water. Use a mild detergent to avoid any harsh chemicals.
- Scrub the racks with a brush to remove any stuck-on food particles. Rinse thoroughly and let them dry completely before returning to the smoker.
- Note: The racks are dishwasher safe, which can help clean excessive grease.
- Cleaning the Drip Pan and Water Bowl:
- Remove the drip pan and water bowl. Empty grease or water; this is best done when the smoker is warm, around 120 degrees F.
- Wash these parts with warm, soapy water. Use a brush to scrub off any grease or residue. Rinse and dry them thoroughly.
- Cleaning the Interior:
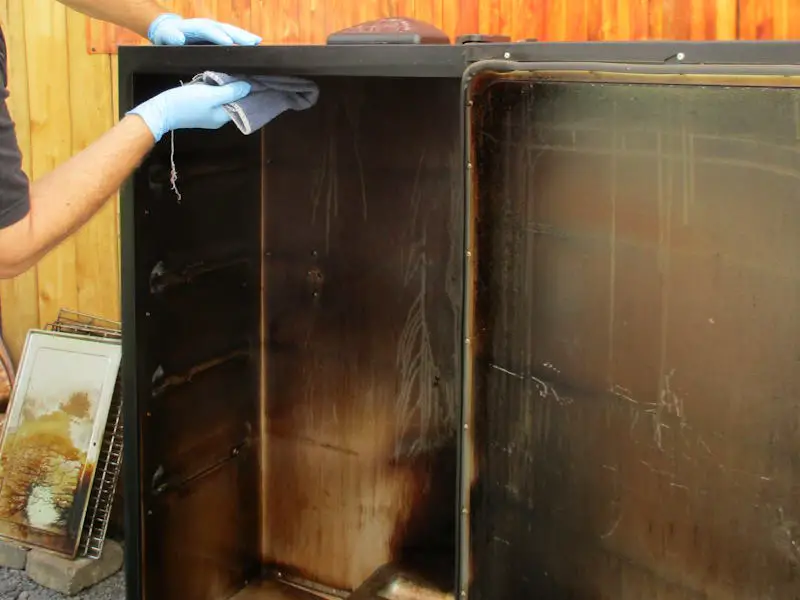
- Wipe down the interior walls with a wet cloth. Avoid using soap, as it can strip away the seasoning.
- Focus on removing loose debris and accumulated grease.
- Be cautious around the heating element to prevent damage.
- Clean the inner door seal and the meat probe(if your model has a probe). Ensure that no grease or residue is left behind.
- The seal will lose effectiveness over time. Regularly wiping the seal can help, and tightening the door lever clamp will be necessary.
- Use a small brush to clean hard-to-reach areas and corners where debris can accumulate.
- Cleaning the Glass Door (if your smoker has a glass door):
- Mix a 50/50 apple cider vinegar solution and hot water in a spray bottle.
- Spray the solution on the glass door and let it sit for a minute or two.
- Wipe the glass with a newspaper or a lint-free cloth to avoid streaks. Repeat the process if necessary to remove all grime and grease.
- Note: Never use glass cleaner inside your smoker window because most contain Ammonia.

Re-seasoning the Masterbuilt Smoker
After cleaning, it is important to re-season the smoker to maintain its performance and flavor. Follow these steps:
- Spray the Interior:
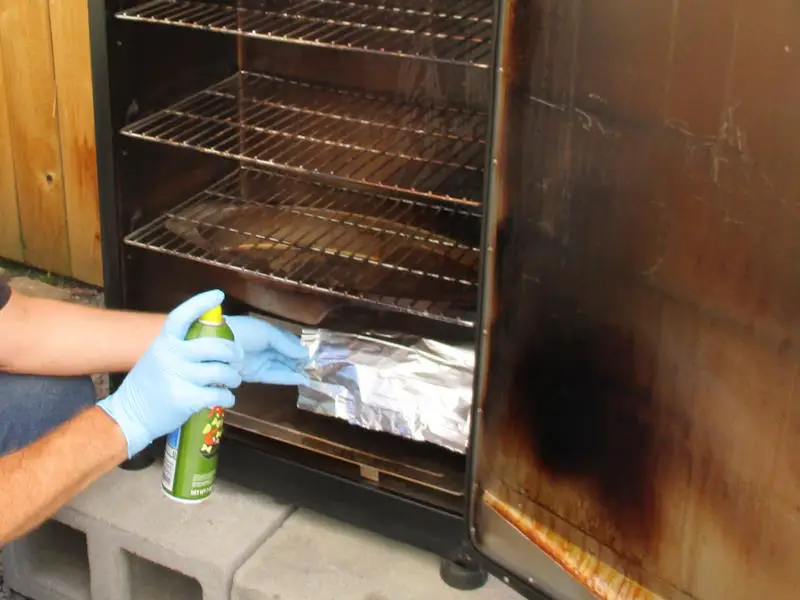
- Lightly spray the interior walls and racks with vegetable oil. Double-spray the inside roof to reduce the chance of anything sticking. Avoid spraying the heating element. Placing a small piece of foil over the element while spraying can prevent overspray, but remove it as soon as you finish.
- Run the Smoker:
- Run the smoker at the highest setting with a full tray of wood chips for two hours. This will help create a new seasoning layer, ensuring the smoker continues to impart delicious flavors to your food.
- A second load of wood chips can be added after 45 minutes.
- Note: Running a pan of wood chips for one hour after using your smoker can return the smoker to a neutral flavor and help remove humidity.
- Be sure to evenly coat all surfaces to ensure uniform seasoning and prevent rust.
Regular Maintenance Tips
- After Each Use:
- Empty the water pan, drip pan, and grease cup.
- Clean smoker racks by brushing and wiping them free of any debris.
- If loose debris is on the walls, remove it with a heat-resistant spatula and wipe it with a cloth.
- Insert all parts and run one pan of wood chips at the highest temperature as mentioned above.
- Using a Disposable Tray:
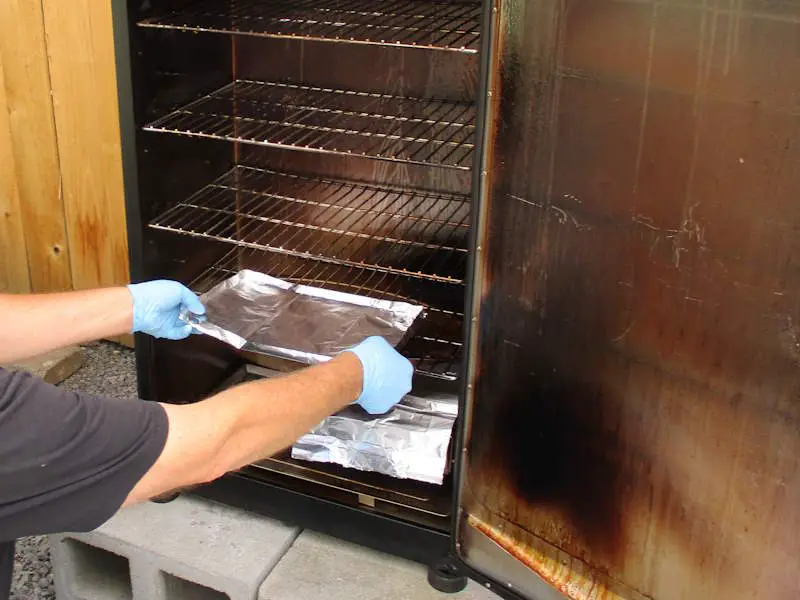
- To reduce cleanup, use a disposable tray, such as a disposable foil cookie sheet or a homemade tray made from heavy-duty foil.
- Place the tray on the bottom shelf of your smoker before you turn it on.
- After you are done using your smoker, discard the tray.
- Ensure there is a gap on all sides of the tray for good smoke flow.
- Inspecting the Wiring:
- Regularly check the wiring for any damage.
- Avoid pulling, kinking, pinching, or rolling over the wire to prevent shorts and potential fire hazards.
- Storage:
- Always keep your smoker out of the rain.
- Store it in a dry place like a garage or storage shed when not in use.
- Use a custom-fit cover to protect it from the elements and insects.
- If your smoker gets humidity in it, you may have issues. Humidity in the digital controller can cause the display to malfunction or ruin the controller altogether. Humidity inside the smoker can encourage mold growth, and then you will need to start all over with a deep cleaning before your next use.

Conclusion:
Cleaning and maintaining your Masterbuilt Electric Smoker may seem daunting, but with these tips, you can keep it in top condition with minimal effort. Regular maintenance ensures your smoker functions efficiently and produces delicious, flavorful food every time you use it.
Remember, the key to a great smoking experience is a clean and well-maintained smoker. By following these steps, you can prevent mold growth and ensure the safety and quality of your smoked dishes.
Happy smoking!
Want more tips and tricks on using your Masterbuilt Electric Smoker? Discover everything you need to know in our detailed beginner’s guide!
Frequently Asked Questions
1. How often should I clean my Masterbuilt Electric Smoker?
Clean your Masterbuilt Electric Smoker after each use to prevent grease and debris buildup for optimal performance and longevity.
2. What should I do if mold grows inside my Masterbuilt Electric Smoker?
If mold develops, perform a deep cleaning. Remove all detachable parts, scrub with warm, soapy water, and re-season the smoker by running it at the highest setting with wood chips.
3. Can I use any vegetable oil for seasoning my Masterbuilt Electric Smoker?
Yes, any high-temperature vegetable oil, such as canola, peanut, or grapeseed oil, can be used for seasoning your smoker.
4. What type of cleaners can I use for my Masterbuilt Electric Smoker?
To clean your smoker, use mild detergents and avoid harsh chemicals. An apple cider vinegar and hot water solution works well for cleaning glass doors. Avoid ammonia-based cleaners as they can leave harmful residues.
5. How can I prevent rust on my Masterbuilt Electric Smoker?
To prevent rust, always store your smoker in a dry place and use a custom-fit cover. Regularly inspect and clean the smoker to remove any moisture or debris.
