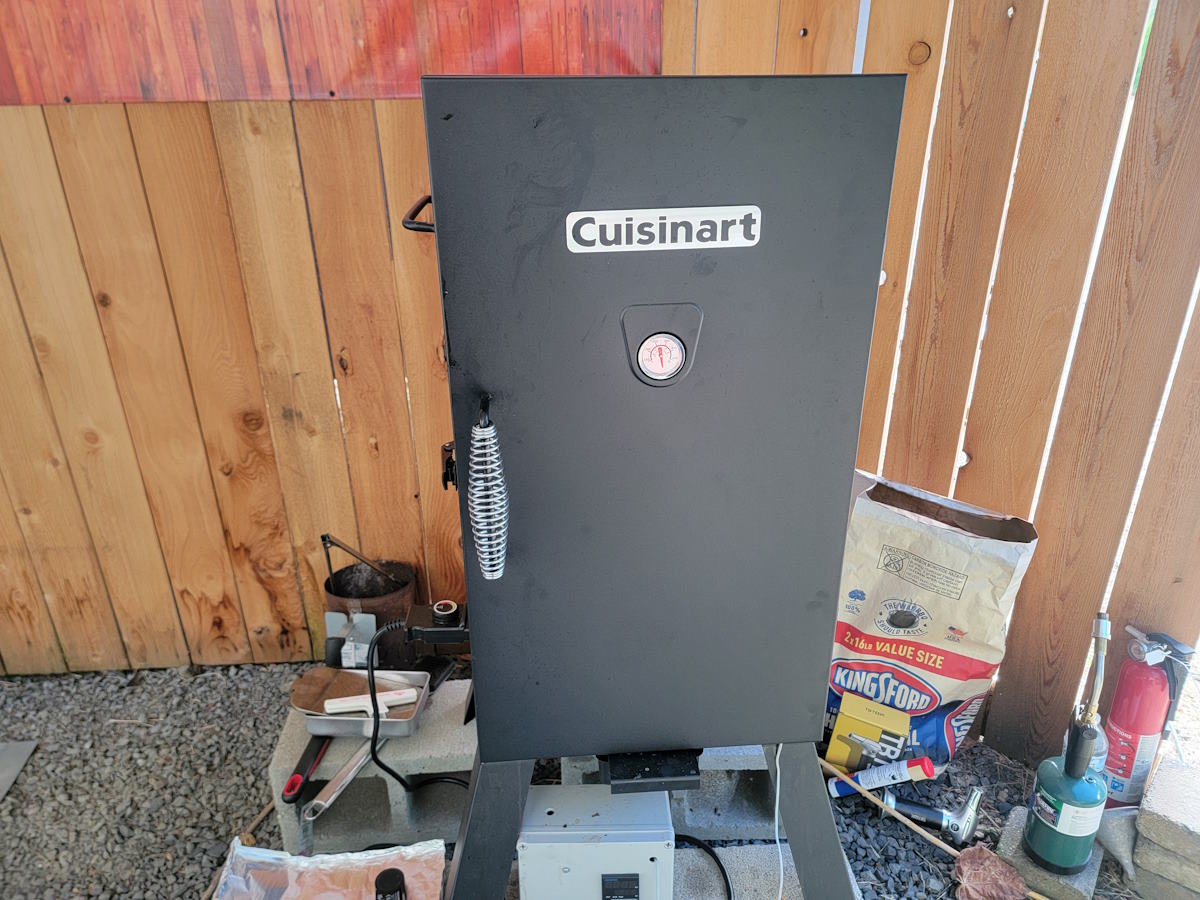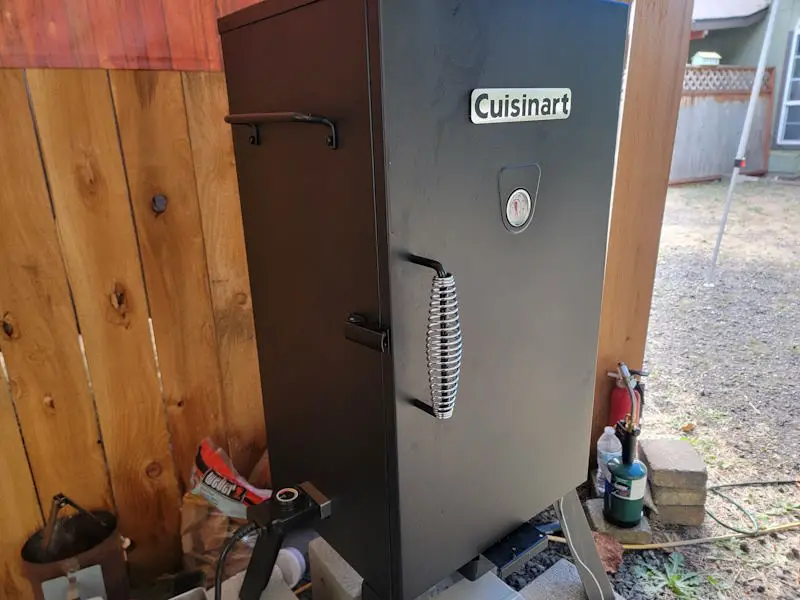
To get the best results from your smoker, it is crucial to properly assemble and season your Cuisinart COS-330 Electric Smoker. This guide will take you step by step through the process.
The Cuisinart COS-330 Electric Smoker is a versatile and user-friendly tool, perfect for both beginners and experienced smokers alike. Our detailed guide, drawing on hands-on experience and research, ensures your smoker is ready for top-quality results.
Note: most links in this article are Amazon.com Affiliate links, see Affiliate Disclosure, thank you.
Unboxing and Preparing for Assembly
When your Cuisinart COS-330 arrives, the first step is to carefully unbox it. The packaging is designed to protect the smoker during transit, but it’s still important to inspect everything for any potential damage.
The smoker will come with several components, including the main cabinet, legs, racks, handles, and smaller accessories like screws and the thermometer.
1. Organize All Components:
- After unboxing, lay out all the parts on a flat surface. This helps you ensure everything is accounted for before you begin assembly. The main parts include:
- The smoker cabinet
- Four legs
- Side handles
- Door handle
- Temperature gauge
- Three chrome-coated racks
- Wood chip tray
- Water pan
- Drip pan
2. Read the Instruction Manual:
- While the assembly is straightforward, it’s a good idea to read through the instruction manual to familiarize yourself with the process and any specific tools you might need.
3. Clean the Interior Components:
- Before beginning assembly, take a moment to wipe down the inside of the smoker and all interior parts with a clean rag or tack cloth. This will remove any dust, debris, or manufacturing residues, ensuring a clean start for your smoker. Cleaning the parts before assembly is easier, as it allows you to reach all areas without obstruction. However, you can also choose to wipe each component right before installation if preferred.

Assembling the Cuisinart COS-330
The assembly of the Cuisinart COS-330 is designed to be simple, typically taking around 30 minutes. Here’s a step-by-step guide based on firsthand experience:
1. Attach the Legs:
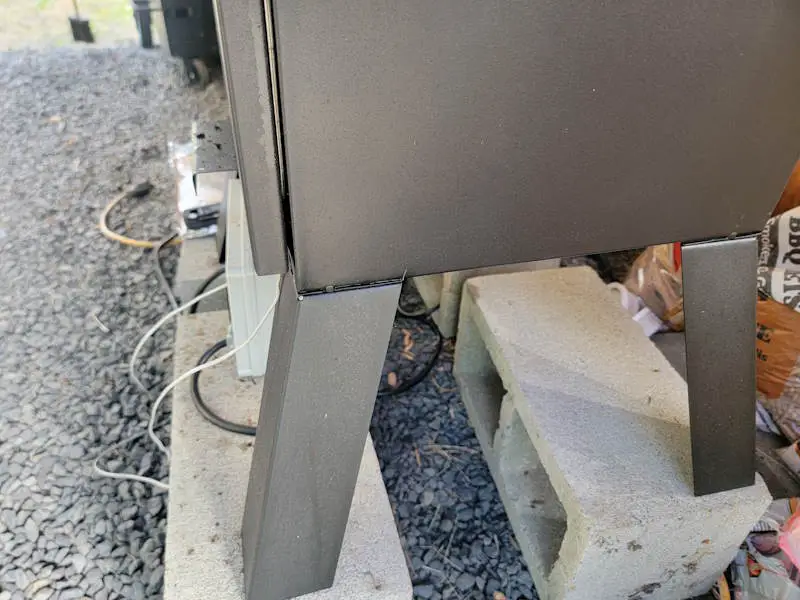
- Start by attaching the four legs to the base of the smoker. It’s essential to check that all the legs are identical, as this ensures the smoker will be stable once assembled. Using a drill driver can speed up the process, but it’s recommended to manually start each screw to avoid stripping the threads. Once all screws are loosely in place, tighten them evenly.
2. Install the Side Handles:
- Next, attach the side handles to the smoker. The handles can be installed in either direction, but following the instructions will give you the recommended orientation. Insert all screws loosely at first, then tighten them in a pattern similar to tightening the lug nuts on a car tire to ensure even pressure.
3. Mount the Temperature Gauge:
- The temperature gauge is mounted on the door using a wing nut. It’s important to ensure the gauge is level before fully tightening the nut. While the stock gauge is serviceable, you might want to consider upgrading to a more accurate model later, especially if you plan on doing a lot of precision cooking.
4. Attach the Door Handle:
- The door handle is heat-resistant and designed to stay cool during operation. Be careful not to overtighten the screws to avoid dimpling the sheet metal. The handle is placed opposite the hinges, allowing easy access to the interior.
5. Install Internal Components:
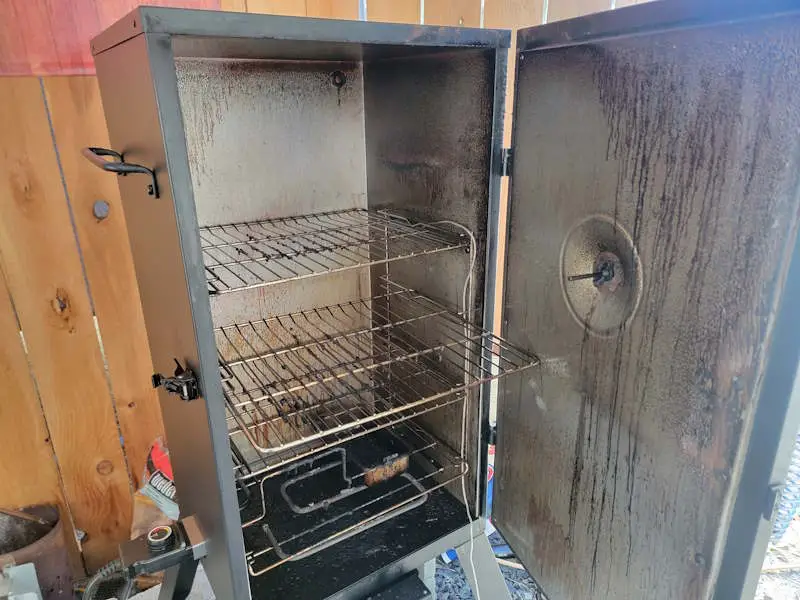
- With the exterior complete, you can now insert the three chrome-coated racks into the smoker. Each rack measures approximately 14.5 inches long by 12.25 inches wide, offering ample space for a variety of foods. Install the wood chip tray directly on the heating element, place the water pan above it, and set the drip pan on the bottom shelf to catch any drippings during cooking.
Pro Tip: wipe down the inside of the smoker before installing internal components, and consider a light spray of oil in hard-to-reach areas.

Preparing for Seasoning
Before using your smoker for the first time, it’s crucial to season it. Seasoning helps to burn off any manufacturing residues and coats the interior with a protective layer that enhances the flavor of your smoked foods.
1. Remove and Prepare the Interior Components:
- Begin by removing the water pan, wood chip tray, and drip pan from the smoker. These should not be oiled during the seasoning process. Place a sheet of tin foil over the heating element to protect it during the oiling process.
2. Apply a Coat of Vegetable Oil:
- Use a high smoke point oil, like vegetable oil, to coat all the interior surfaces, including the sides of the cabinet, the racks, and the inside of the door. This thin layer of oil will help to season the metal and create a non-stick surface.
3. Set the Temperature:
- Once the smoker is coated, plug it in and set the temperature dial just past the halfway point, aiming for a temperature slightly above 275°F. The smoker should be allowed to run at this temperature for about two hours to properly cure the interior. Note that the built-in thermometer may not be entirely accurate, so monitoring the temperature with an external probe thermometer is recommended.
4. Initial Burn-In:
- During the first 13 minutes, the smoker should reach about 275°F. You may notice a “new element” smell during this initial burn-in, which is normal. Let the smoker continue to run at this temperature for the full two hours. This process will burn off any residual oils and manufacturing chemicals, leaving the interior ready for cooking.
Enhancing Your Seasoning with Wood Chips
Adding wood chips during the seasoning process can help to enhance the flavor of your smoker right from the start.
1. Choosing the Right Wood Chips:
- For the initial seasoning, a mild wood like hickory or apple is recommended. Hickory provides a robust smoke flavor that is great for meats, while apple wood offers a milder, sweeter smoke.
2. Adding the Wood Chips:
- Halfway through the seasoning process, add a small amount of wood chips to the wood chip tray. This will introduce smoke to the interior, further enhancing the seasoning process. Make sure the chips are spread evenly in the tray to promote consistent burning.
3. Monitoring Smoke Production:
- As the chips begin to smoke, you should see a steady stream of smoke exiting the small vent at the top of the smoker. If the smoke production seems low, you can increase the quantity of wood chips or add a pellet smoker tray for additional smoke.

Final Steps and Post-Seasoning Maintenance
After the seasoning process is complete, your smoker will be ready for its first cook.
1. Cooling Down:
- Once the two-hour seasoning process is finished, turn off the smoker and allow it to cool down completely. This will allow the oil to set and the smoker to stabilize.
2. Cleaning the Interior:
- After cooling, inspect the interior for any residue that may have been produced during the seasoning process. Wipe down the interior with a clean, damp cloth to remove any excess oil or soot.
3. Storing Your Smoker:
- If you’re not planning on using the smoker immediately, store it in a dry place to prevent rust and corrosion. Covering the smoker with a weather-resistant cover can also help to prolong its lifespan. Also, storing your smoke clean and dry in a dry place will reduce the chance of mold that can be a pain to clean.
4. Regular Maintenance:
- To keep your Cuisinart COS-330 in top condition, clean the racks, water pan, and wood chip tray after each use. Periodically re-season the interior with a light coat of oil to maintain its non-stick properties and enhance the flavor of your smoked foods.
Conclusion
Proper assembly and seasoning are crucial steps in ensuring the longevity and performance of your Cuisinart COS-330 Electric Smoker. By following this guide, you’ll set yourself up for success, allowing your smoker to deliver consistently delicious results for years to come.
Whether you’re smoking cheese, ribs, or a pork shoulder, your well-seasoned smoker will be a key tool in your culinary arsenal.
This detailed process not only prepares your smoker for use but also enhances the flavor of your food, ensuring that every meal you prepare is packed with that rich, smoky taste that only a well-seasoned smoker can provide.
Enjoy your smoking journey with the Cuisinart COS-330, and happy cooking!
